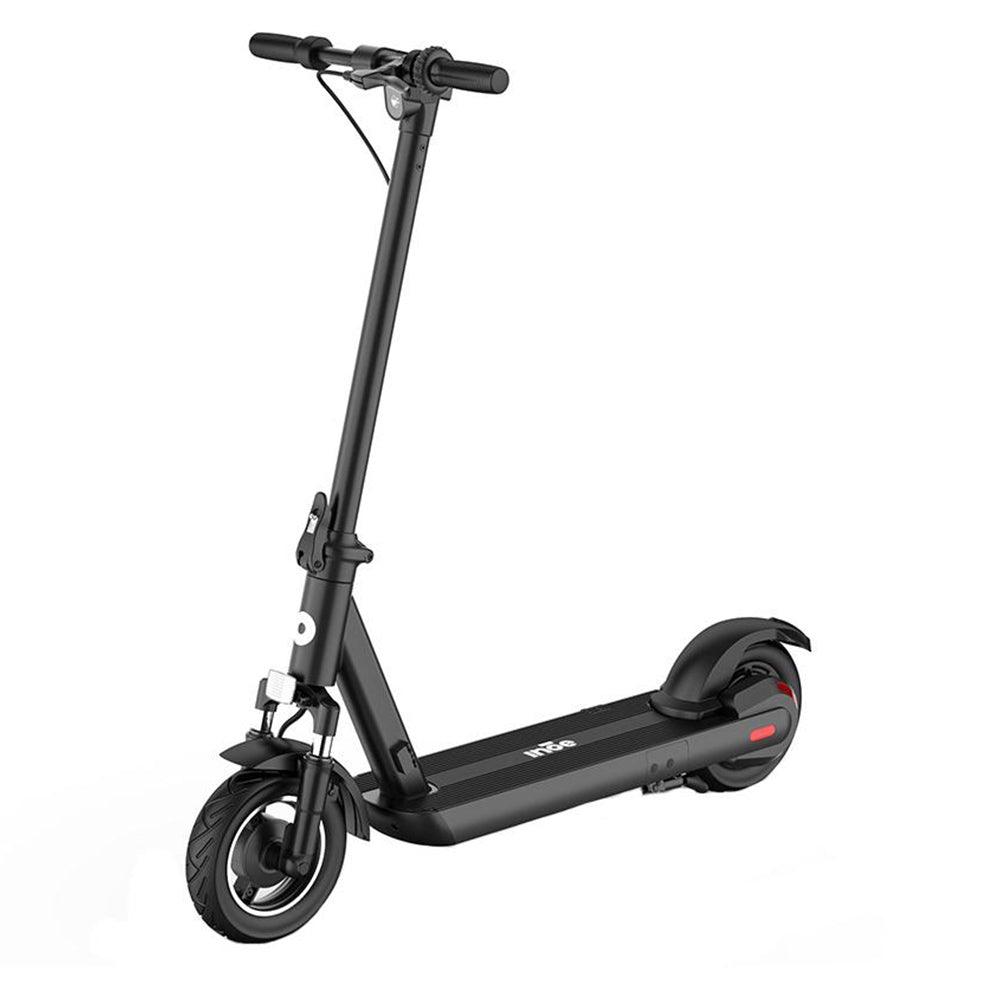
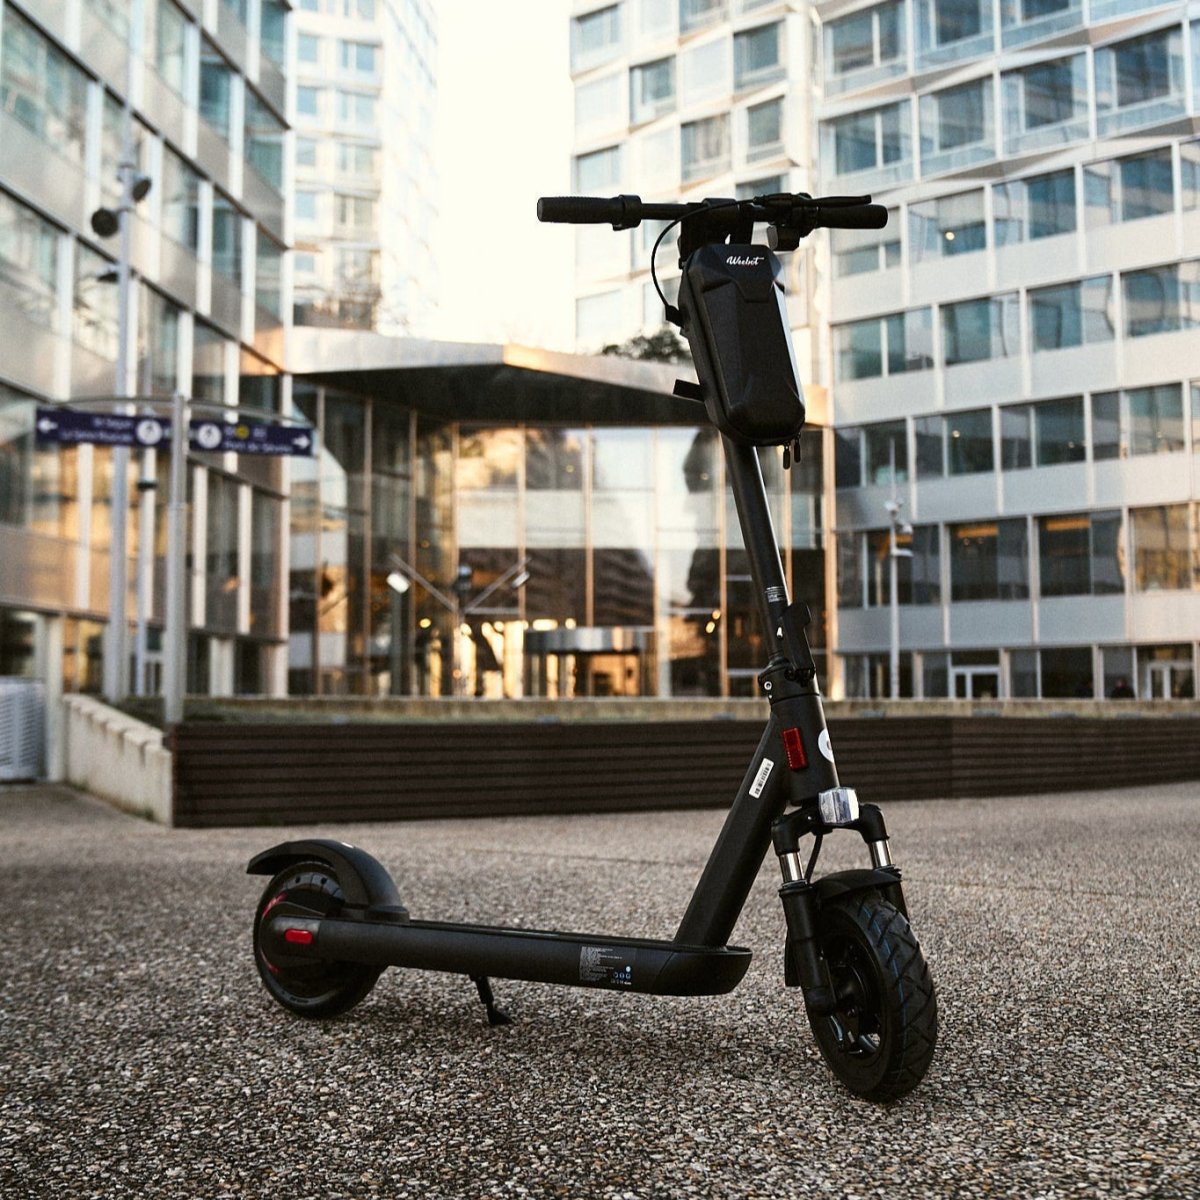
Have you just purchased a Weebot Zephyr or Weebot Anoki electric scooter? This has a QS-S4 LCD screen. We will help you discover all the settings of the LCD screen of your Weebot scooter in order to configure your vehicle. Follow our complete guide with the meaning of the different driving modes as well as the error codes on the display.
QS-S4 Color LCD Screen
The QS-S4 LCD display replaces the old LT-01 display offered by the old Zero electric scooters. It has brand new additional functions. It is possible to consult, among other things:
- the speed of the electric scooter
- the number of kilometers traveled
- remaining autonomy
This signage on the handlebars allows safe and ideal driving in all urban travel with your Weebot electric scooter .
Please note that to turn on the lighting of your electric scooter, you must press the "MODE" button for several seconds.
Which scooters are equipped with the QS-S4 accelerator?

The QS S4 display model is a benchmark in the electric scooter industry. It is mainly used by the Zero and Weebot brands who use this digital display on their vehicle. Here is the list of electric scooter models compatible with this color LCD display.
- Weebot Zephyr electric scooter
- Weebot Anoki electric scooter
- electric trottinette Weebot Leika
- electric scooter Zero 8
- electric scooter Zero 8X
- electric scooter Zero 9
- electric scooter Zero 10
- electric scooter Zero 10X
- Kaabo Mantis Lite electric scooter


Complete Weebot QS-s4 Screen Adjustment Guide
The settings of your electric scooter are made via the control screen which also serves as an accelerator. Discover all the possible settings to give you driving comfort.
How to set the driving mode for Weebot Zephyr and Anoki scooter?
The QS S4 LCD screen of Weebot electric scooters allows you to ride with 3 driving modes. The more you increase from level 1 -> 2 -> 3 , the faster your maximum speed and acceleration will be. But you will also lose more autonomy. It's all about using your Zephyr or Anoki.

How to access advanced settings (P Mode)
To adjust your Weebot electric scooter in depth, here is how to access the programs saved in the QS-S4 display.
- Turn on the electric scooter
- Press the “MODE” and “POWER” buttons for a few seconds to access the menu of the different Programs
- Use the "POWER" button to scroll through the different programs (p0, p1, p2, p3, p4, etc.)
- Press the “MODE” button to change the setting value
- To save, simply wait a few seconds without touching the buttons until the Weebot scooter display returns to home on its own.
List of programs for Weebot Zephyr, Anoki and Leika
In this part we will detail all the features available to best adjust your electric scooter according to your desires. There are a total of 10 adjustment programs on this accelerator model.

Programs P1 P2 P3 do not need to be modified
Please note, although it is possible to modify the values in modes P1 and P2, we do not recommend doing so. Programs P1, P2 and P3 must only be modified if the values indicated are not the correct ones.
P1 mode: LCD screen brightness

This value modifies the backlighting of the QS-S4 LCD screen of your scooter. Low brightness is recommended in dark weather, while high brightness is preferable in direct sunlight.
- 1 = low intensity backlight
- 2 = medium backlighting
- 3 = high brightness backlight
Mode P2: speed unit

Depending on the region, the units of measurement are not all the same. To drive in France, Weebot recommends that you choose unit 0 to display your speed in km/h in order to comply with measurement standards.
- 0 = kilometers per hour
- 1 = Miles per hour
Mode P3: battery voltage

The battery voltage value corresponds to the power of your electric scooter. It can be set to 36V, 48V, 52V, 60V, 72V. There is therefore no point changing this value which by default is perfectly configured.
P4 mode: automatic vehicle shutdown timer

You can set the number of minutes your vehicle turns itself off after a period of inactivity. This parameter is adjustable from 0 to 60 minutes.
This function saves the battery so that it does not discharge unnecessarily when you are not using your vehicle.
Mode P6: wheel size

This program allows you to indicate on the display the size of the wheels of your electric scooter. By default, this is set to 8.5 for the 8.5 inch wheels of the Anoki, 10 for the 10 inches of the Zephyr and Leika etc.
This allows you to calculate the speed of the electric scooter. But depending on your weight, it may be wise to fine-tune this setting so that the speedometer reading is as close as possible to the GPS speed.
Mode P7: number of magnets in the motor

The P7 value corresponds to the number of pairs of motor poles. Manufacturers of electric scooters including Weebot recommend not to modify this original value.
Mode P8: engine power

It is possible through this program to adjust the engine power between 5% and 100%. This program is particularly useful for getting used to the power of your Weebot electric scooter.
If you are unsure when you first use your vehicle, you can configure the machine to deliver more or less its maximum speed when the trigger is fully depressed.
- 25 = Top speed at 25% maximum
- 50 = Top speed at 50% maximum
- 100 = Top speed at 100% of motor capacity
Mode P9: foot start

To start your Zero or Weebot electric scooter, you have the option of starting acceleration with a kick of the foot (value: 1), or activating raw start to start directly with the acceleration triggerof the QS-S4 (value: 0).
For beginners or for the most powerful electric scooters, prefer foot start, and when you have gained experience, you can move on to direct start mode.
- 0 = Direct start with throttle trigger
- 1 = Acceleration trigger active only after kicking off
Mode P11: electric braking intensity
This P11 program allows you to modify the power of the electric braking on your Weebot, Zero or Kaabo scooter using the QS-S4 display. You have several power levels (from 1 to 5) for the electric brake present on the motor(s):
- 1 = Low-power electric braking
- 3 = Electric braking not default
- 5 = Full power electric braking
Mode P12: Soft start
It is possible to control the acceleration of the trigger through this program. To avoid excessively violent acceleration, choose the value 0 (softer). To deploy full power at startup, enter the value 5 (faster and more responsive).
- 0 = Gentle acceleration at start-up
- 3 = Default vehicle acceleration
- 5 = Most powerful acceleration at start-up
Mode P15: Undervoltage monitor
Do not modify!
Mode P16: Reset ODO
To reset the kilometers to 0 on your Weebot electric scooter, once in this menu, simply hold down the POWER button.
Mode P20: Error log
Do not modify!
The battery level
Your QS-S4 display allows you to monitor your battery level. Thanks to its gauge, you will be able to monitor your battery consumption and adapt your driving accordingly.

When your battery is full, you can fully use your electric scooter by having fun with the highest speed mode.
When your battery reaches 70%, we recommend driving at a moderate speed.
Below 50%, choose a more moderate pace by switching to intermediate speed mode. It is recommended to always stay above 35% to 40% battery, in order to maintain optimal performance of the battery of your electric scooter.
QS-S4 LCD Display Error Code List
Electric scooter error codes are there to tell you that there is an anomaly on your vehicle. In case of doubt, here is the list of these codes as well as their meaning. You will then be able to know which system is faulty and requires repair.
Before carrying out repairs on a Weebot electric scooter following an error code, we advise you to contact an electric scooter repairer such as our Weebot Service Center by email on sav@wee-bot.com .
We will then be able to guide you effectively on the reason(s) for the breakdown and possibly the repairs to be planned.
Error code E00
It is usually enough to restart the scooter to correct this error.
Error code E02
This code indicates a brake problem.
To correct this problem, press the brake handle several times to see if it is blocked. If the problem persists, we advise you to check the handle spring as it may not be properly in place. Your brake handle should then not engage correctly.
Error code E04
This code indicates a regulator problem. Remember to deactivate it in the program menu P6 (value at 0)
Error code E06
This code indicates a battery undervoltage problem. Check P3 program mode and make sure the value matches the product's default setting.
Error code E07
This code indicates an engine problem. The cable supplying the motor is possibly disconnected. On the Anoki model, turn off your vehicle and try to unplug then reconnect the visible engine cable.
On Zephyr and Leika models, you need to check if the cables at the controller are correctly connected. If the problem persists despite everything, the motor is surely defective.
Error code E08
This code indicates a problem with the display display. In some cases, it is possible that the magnet inside the display may fall. Then check that it is present by holding the trigger pressed (vehicle off). You should see it behind the trigger block normally. If the magnet has fallen, it must be put back in place, taking care to put it in the right direction. If placed upside down, your scooter could accelerate on its own.
Error code E09
This code indicates a problem with the controller. It is certainly necessary to change the controller which is defective.
Error code E10
This code indicates a signal problem from the controller to the display. First, try unplugging and reconnecting the display. If the problem persists, you can try with another display. If this does not resolve the connection problem, you will need to change the connector cable.
Error code E11
This code indicates a signal problem from the display to the controller. First, try unplugging/replugging the display. If the problem persists, you can try with another display. If this does not resolve the connection problem, you will need to change the connector cable.
Error code E12
This code indicates a problem with the BMS. The latter controls battery management.
Error code E13
This code indicates a problem with the scooter's lighting. If your battery is charging, you must check that the charging port is functioning properly. Otherwise, the battery will need to be changed.

